NASA / Public domain, https://commons.wikimedia.org/wiki/File:Haircut_in_ISS_ISS026-E-017741.jpg
Deborah Tosline wrote and published “Skin Remodeling DIY: An Introduction to the Underground World of Do-It-Yourself Skincare” in 2015. Her approach to skin care is based on a scientific background, love of research and over 30 years of DIY skincare experience.
Follow Skin Remodeling DIY on Facebook for daily messages on health and beauty.
Hmmmm. Do-It-Yourself (DIY) hair trims may be intimidating. I am not talking about giving yourself a new haircut, just a little trim in a pinch. I began DIY hair trims in 2019. I know more about skin than hair but under self-isolating conditions, it seems like a good time to share my limited personal experience with DIY hair trimming.
To those struggling without work/income and/or who have suffered personal losses and to our brave and devoted medical care, essential, maintenance, supply, delivery and transport professionals thank you for your work!! Wishing you and all good health, resources, peace, blessings and more.
Haircut.jpg, Jessica Fiess-Hill / CC BY (https://creativecommons.org/licenses/by/2.0)
I live in Phoenix, AZ and usually get my hair trimmed by my good friend and professional hairstylist who lives in Tucson, AZ. As a result of the 100-mile distance, my hair trim schedule changed from a preferred 6 weeks to about every 12 to 16 weeks. I don’t style my hair much so I like to maintain freshly trimmed smooth ends that comb easier and look healthier. I usually wear my hair long. In recent years I cut it to shoulder length and am currently letting it grow out. Recently, in between salon visits, I began trimming my hair myself.
To set up for the first trim, I did a bit of Internet research; found DIY hair trim instructions; purchased mid-range, well-reviewed hair scissors; and began the intermittent process of trimming my hair in between professional haircuts. Simple instructions are available for blunt and layered cuts. Typical instructions include comb hair, part hair into sections, comb individual hair sections, pony tail or other before trimming the ends. Trim a small amount of hair at a time. I used the point cut method which consists of using the tips of the hair scissors to cut up into the hair ends instead of straight across, effectively trimming split and dry ends. This method follows the previous cut, is more forgiving than cutting straight across and texturizes hair ends.
The first time that I trimmed my hair myself I was concerned about messing up. I proceeded cautiously, found a method that I felt comfortable with, cautiously followed the instructions and trimmed small hair segments until most hair ends felt smooth. I loved the results so much that I worried I might start trimming my hair too much to maintain very smooth ends ha ha. I did another trim a week later in case I missed any split ends. I told a friend about my DIY trim, showed her the results, and she said that my hair looked perfect. Despite the distance from my good friend/professional hairdresser I found my way back to six-week trims via DIY. Don’t get me wrong, I’ll continue to get professional hair trims/cuts but in-between salon visits and now in isolation, I will give myself DIY hair trims.
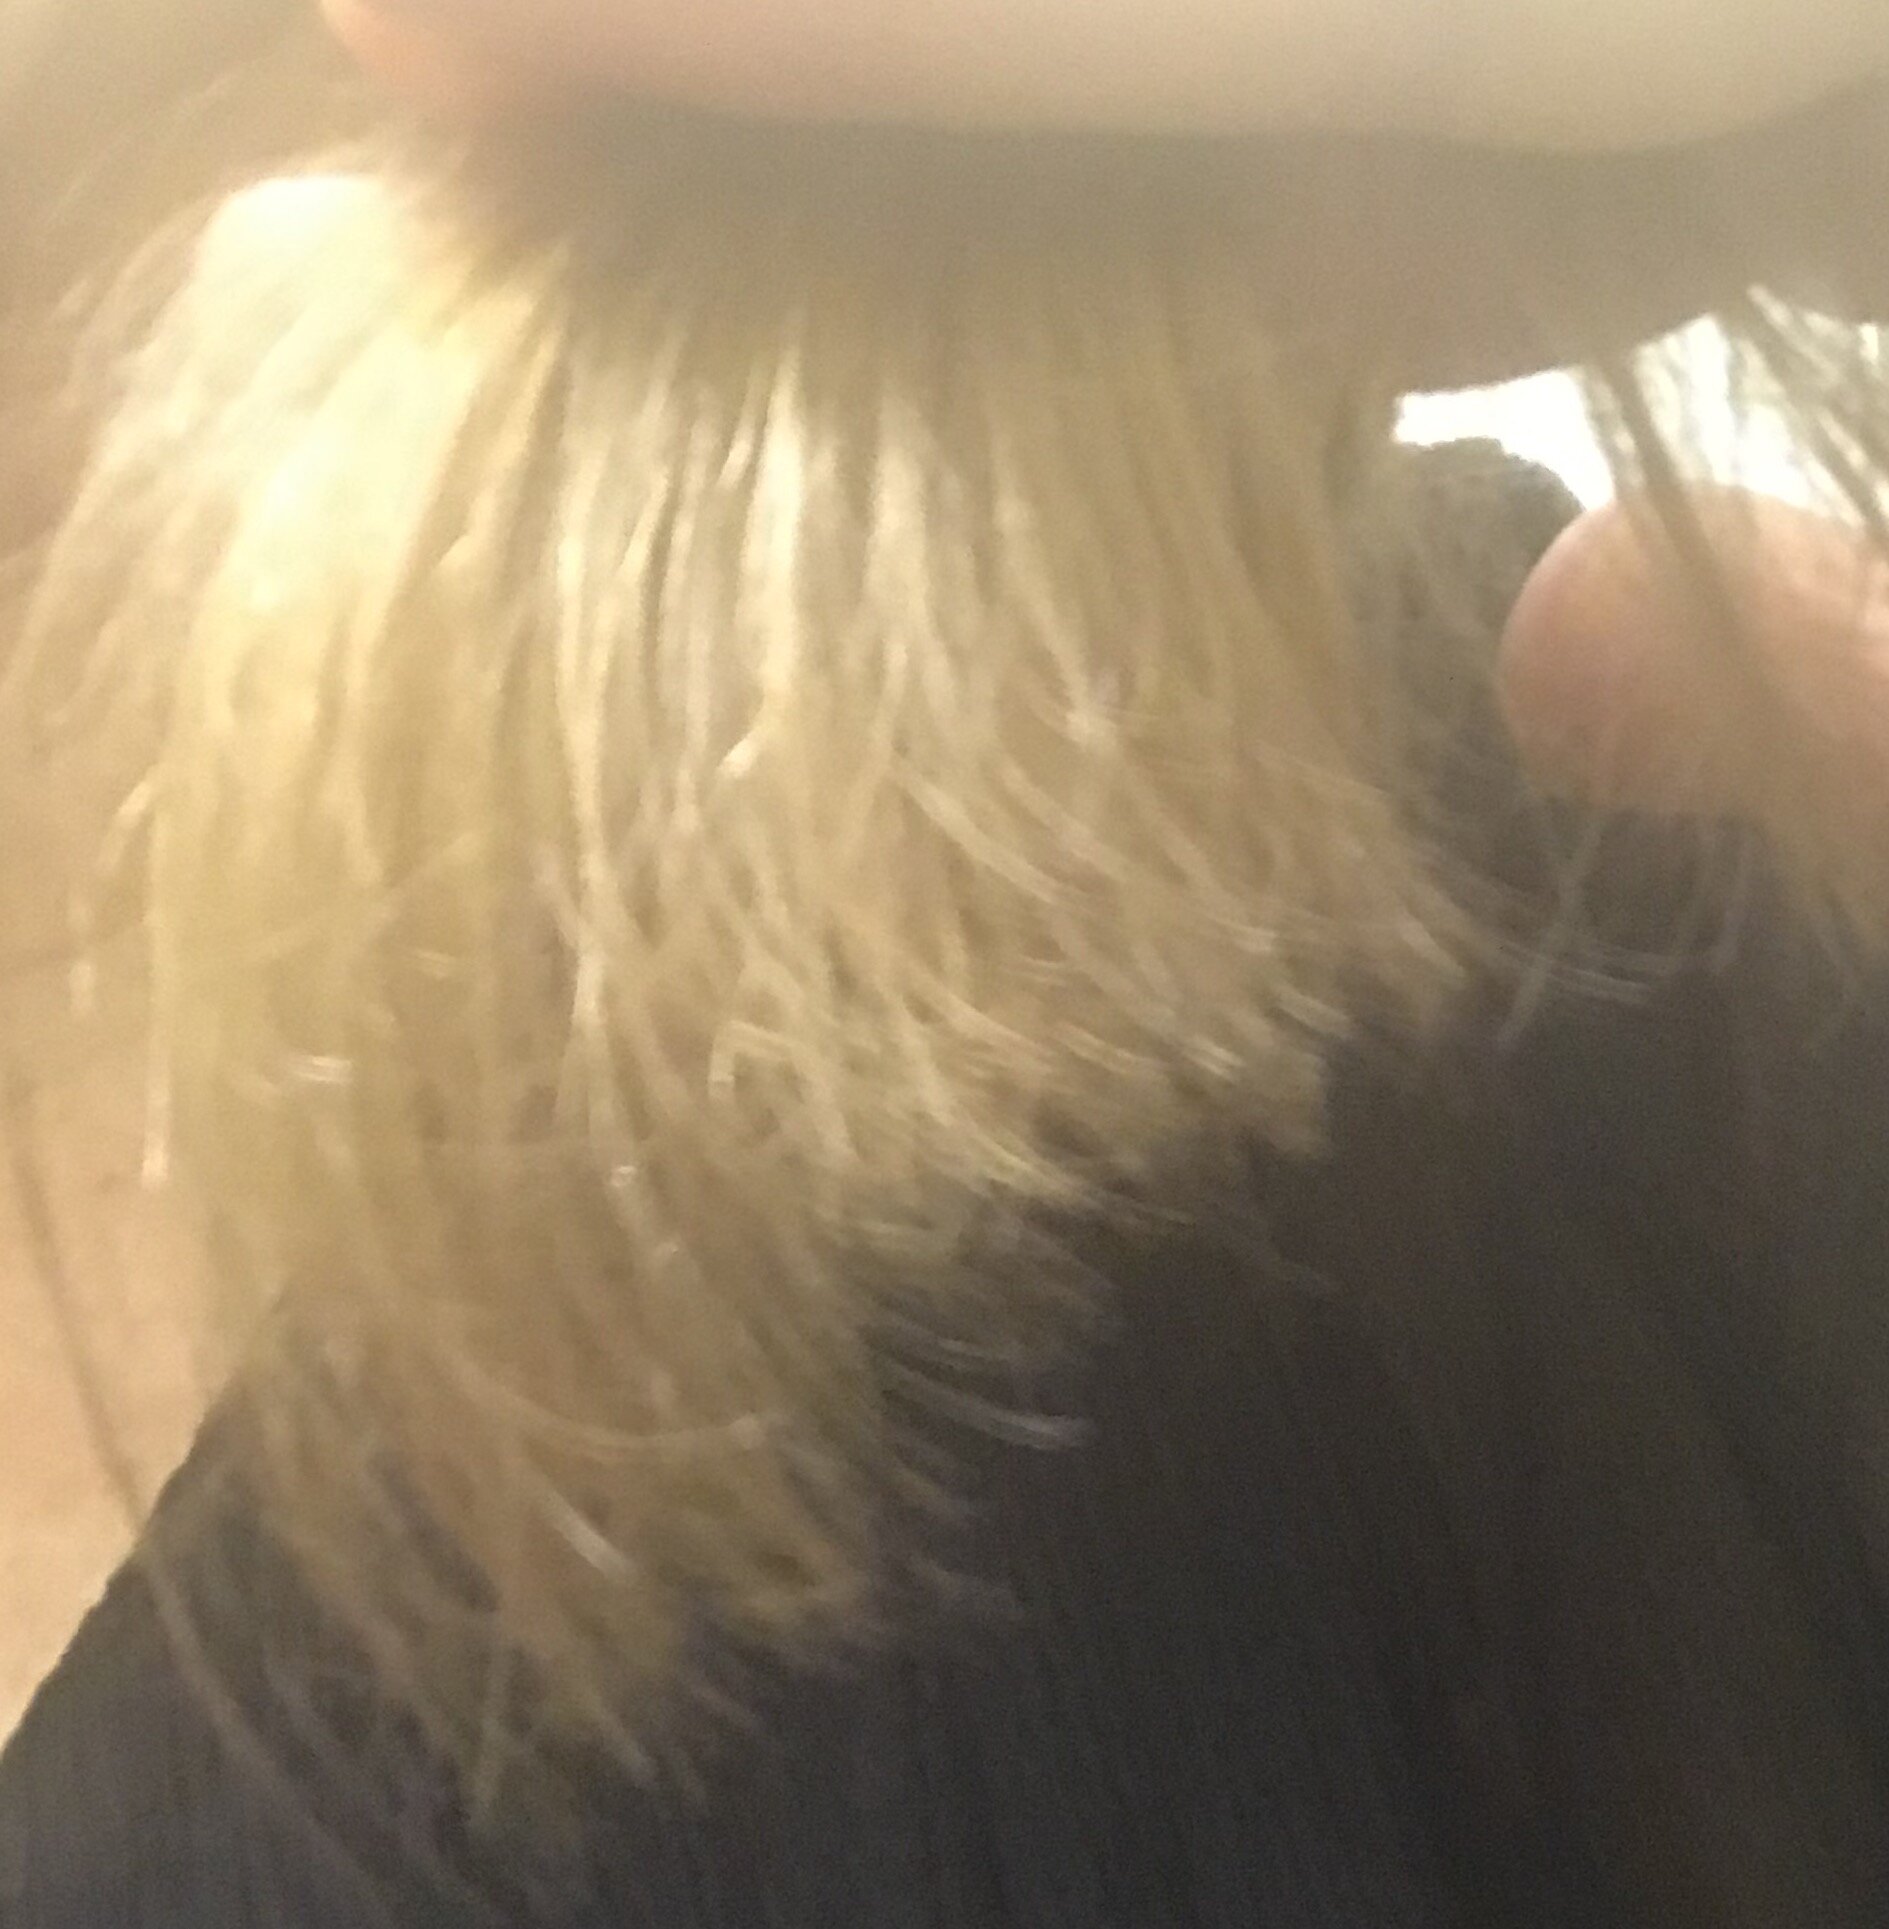
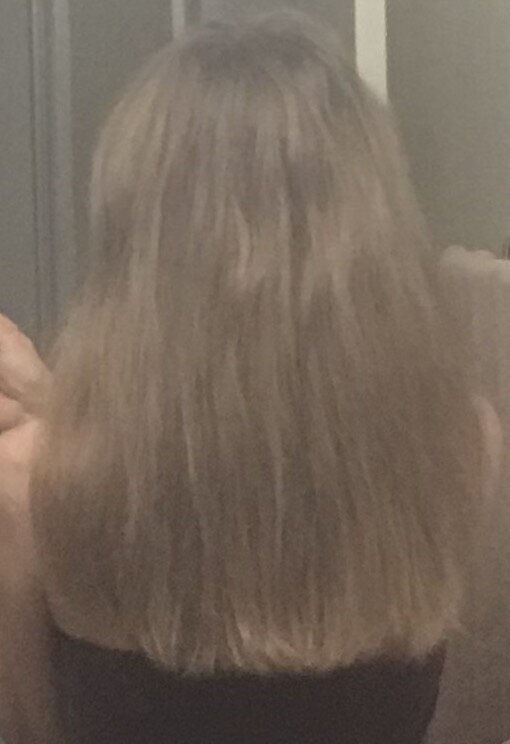
Author Photos taken April 28, 2020
Upper left photo: Pre-Point Cut Upper right photo: Post-Point Cut
Lower left photo: Pre-Point Cut Lower right photo: Post-Point Cut
Over the past two years I’ve begun to learn about and use DIY haircare. I’ve used some of the following references and would use the references that I list for you here.
Long hair - Feye’s Hair Trimming self-trim instructions for long hair are described in this Live Journal blog.
How to hold hair - I used and liked the suggestion to hold hair between the fingers using the pointer finger on the top, middle finger on bottom, and ring finger on top to trim hair ends from GIRLLOVESGLAM in their article “How to Cut Your Own Split Ends”. If you are isolating with someone who is willing to trim your hair this method could be used to trim shorter hair styles.
Long hair, layered and bang trim - Amy Batlowski owner of Studio A in Newport Beach provides DIY instructions in the article “A Hairdresser’s Guide to Cutting Your Own Hair” published in Man Repeller. This article contains instructions for a long hair trim, a layered cut and info on how to trim bangs.
Curly hair - My hair is wavy-straight but if my hair was curly (like I always wished it was :), I would use these guidelines or these.
Ponytail cuts for layers - This GH article summarizes and provides links to 10 ways to DIY trim hair. The Ponytail cut results in different types of layer cuts depending on where you put the pony.
Man_using_Flowbee_to_cut_his_hair.jpg: Victor Martinez from Fort Lauderdale, U.S.A.derivative work: Gobonobo / CC BY (https://creativecommons.org/licenses/by/2.0)
Flowbee - is a device that fits on your vacuum cleaner and provides a precise hair trim. The website reports “Using the suction power of your vacuum cleaner or the new FLOWBEE super mini vac, the FLOWBEE then draws the hair evenly into the recessed blades and cuts it precisely. The results are a refreshing vacuum haircut.”
Flax seed conditioner and gel - I adore this flax seed leave-in conditioner and gel! Lately, I’ve been making so many other DIY home products that I forgot about this and I must make this ASAP! It is easy to make and conditions the hair, adds volume and forms great curls. It may be used as a leave-in conditioner or a dry hair gel. It is nourishing for hair! Cook whole flaxseeds in water until the water thickens, cool, strain, and store gel in container. Store the strained flaxseeds in the refrigerator for reuse one or two more times.
DIY Conditioner - This article provides instructions for making a DIY hair conditioner. I made the customized DIY hair conditioner recipe last year and it worked well. I ran out of it and have not made it again but plan to.
DIY Shampoo - Here are ten interesting DIY shampoo recipes. I tried a Wellness Mama recipe in the past that consisted of coconut milk, liquid castile soap and essential oil. I am interested in these castile soap blends with a light oil. I will be trying one of these recipes soon.
Dry Shampoo - Washing your hair less lately, good for you! It’s better to let the natural oils nourish hair. Use a DIY dry “shampoo” to make any color hair look clean and avoid the synthetic ingredients! I love using cocoa powder/arrowroot starch for dry shampoo! Either this or this article contains good info on your new DIY dry shampoo.
If you need more information, go to the library or search the Internet; to learn more about my take on skin care, read my blog or get my book “Skin Remodeling DIY: An Introduction to the Underground World of Do-It-Yourself Skincare”
Take good care of yourselves!
XO Deborah
This article is intended to be used as general information only and is in no way intended to replace medical advice, be used as a medical treatment program, diagnosis, or cure of any disease or medical condition. There are no warranties, expressed or implied, regarding the effectiveness of the practices described in this article. Products or substances discussed herein are for educational purposes only and are not intended as recommendations of the author.


